The finish starts with preparation
A well-finished room begins before the paint is opened. We take time to understand its surfaces, light and everyday use, then agree the preparation and finishes that belong in the brief.
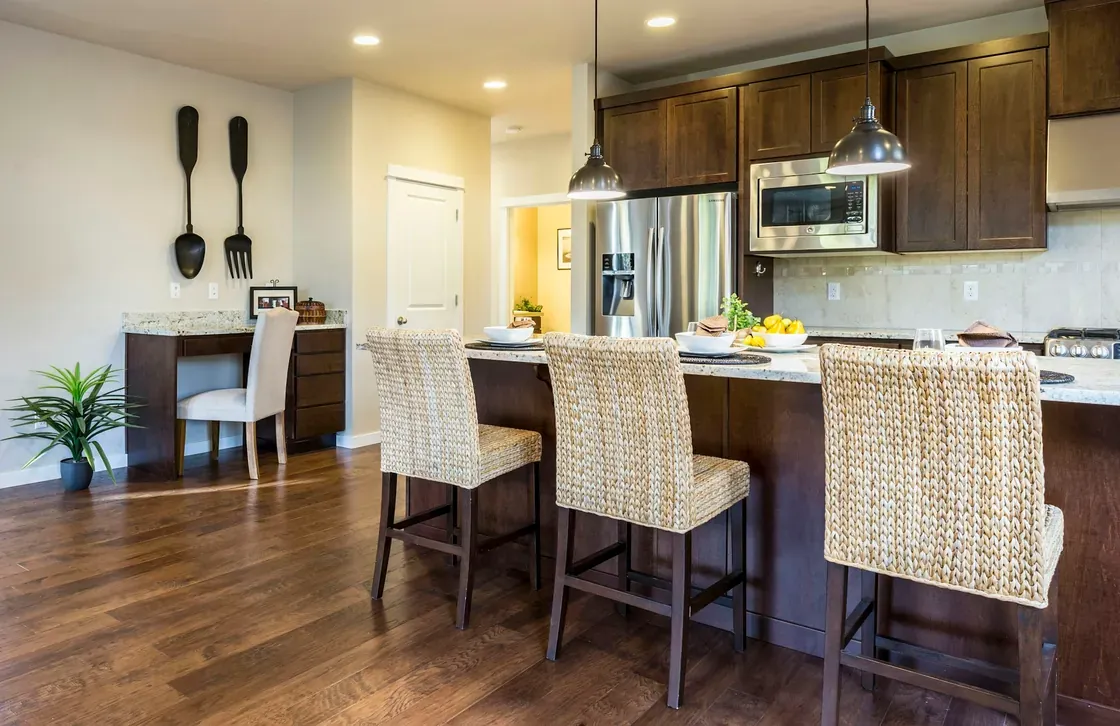
From a single room to a coordinated decorating project, the aim is a clear sequence and a considered result. Protection, samples and the final walkthrough are part of that conversation, alongside colour and finish.
Good information comes first.
- Walk through the brief
- Set the specification
- Review the finish
Every project begins with a conversation about what is needed, what is possible and what should happen next. The scope, timing and next steps are agreed before work begins.
From the room brief to the walkthrough
- 01
Walk through the brief
We list the rooms and surfaces together, noting finish preferences, known repairs and the way the spaces will be used during the work.
- 02
Set the specification
Agree preparation, protection, coating choices and sample approval before the programme is confirmed.
- 03
Review the finish
We use the agreed scope for the final walkthrough and record any follow-up items clearly.